
Index
- Overview
- Default Server Accounts
- Default Settings
- Creating New Users
- Editing Users and Updating Preferences
- Log Out or Switch the Current User
- Deleting A User
- Managing User Access & Permissions with Grouping
Overview
Statseeker user accounts provide access to the Statseeker web interface and the Statseeker RESTful API. A Statseeker installation comes with a single admin user account which is configured during the installation process (see Installation Guide for details). Initially, the admin account is the only account that will have access to the Statseeker Administration Tool which is used to configure and manage your Statseeker installation. You can assign additional Statseeker user accounts the Admin role to allow other accounts this same functionality.
Additional Statseeker user accounts can be created, and these accounts can be tailored to a purpose by associating the user account with groups. Grouping allows you to control the visibility of, and access to, elements of your network and specific functionality within Statseeker, for more information on this see Users and Grouping.
Default Server Accounts
During the Statseeker installation process you are prompted to enter a user account password which is then applied to 3 default user accounts:
- root - the OS superuser/administrator account
- statseeker - the account used by Statseeker to manage and run a range of Statseeker specific process
- admin - the Statseeker admin used to manage your Statseeker installation via Statseeker's web interface
The admin user account can be edited, like any other Statseeker user account, from within the Admin Tool - this document details the processes involved.
The root and statseeker accounts are Statseeker server accounts, not Statseeker user accounts. These accounts have no access to Statseeker via the web interface, and cannot be used to interact with Statseeker outside of the server CLI.
More Information:
Default Settings
The default settings for user access to dashboards, and dashboard permissions can be managed in the Admin Tool:
- Select Admin Tool > Reporting / Scheduling > Console Options
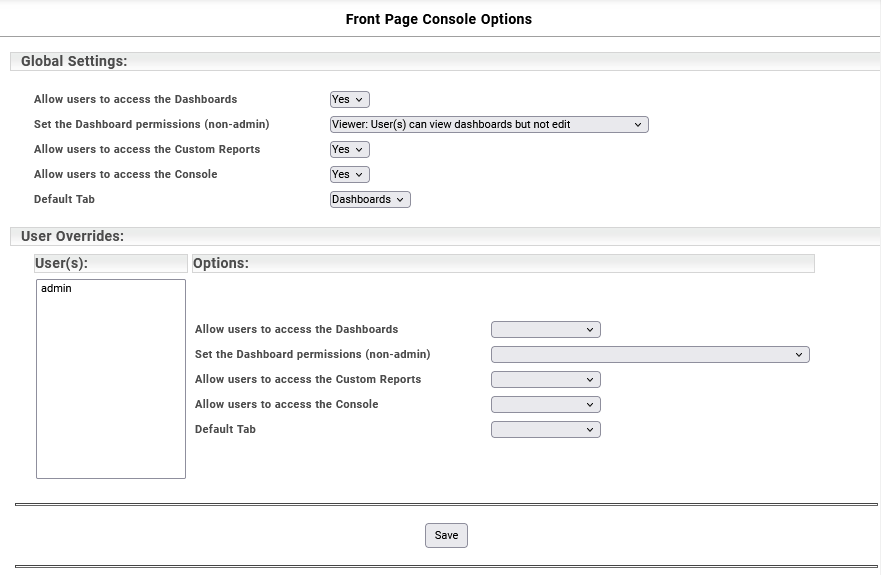
Global Settings - default settings applied to all Statseeker user accounts
- Allow users to access the Dashboards - toggle Dashboards tab availability
- Set Dashboards Permissions (non-admin) - applies to non-admin accounts, admin users always have full edit permission
- See Users and Dashboard Permissions for details on the various roles and their capabilities
- Allow users to access the Custom Reports - toggle Reporting tab availability
- Allow users to access the Console - toggle Console tab availability
- Default Tab - set the default tab when accessing the Statseeker server via the web GUI
The User Overrides section allows you to configure user-specific overrides to each of the global settings.
Creating New Users
- Select the existing User and click Copy
- Update the configuration and click Add User
To create a new Statseeker user account:
- Select Administration Tool > User Profile/Grouping > Add / Edit Users
- Click Add
- Specify:
- Username
- Allowed characters: alphanumeric (a-z, A-Z, 0-9), hyphen (-), underscore (_), period (.), and @ (email format supported)
- First character must be alphanumeric
- Must be unique on the server
- Authentication Method
Note: the Authentication Method field is only visible if Statseeker has been configured to use SAML, LDAP or RADIUS authentication. For more information see User Authentication.
- Password where required (availability depends on the selected authentication method)
- Email address for the account, this value can be referenced by Statseeker server agents when emailing reports and alerts
- Groups the user account will have access to, see Users and Grouping for details
- Username
- Optionally, flag the user as Is Admin to provide the account the same rights and access as the default admin account
- Update the default values for any other settings as needed and Save the user

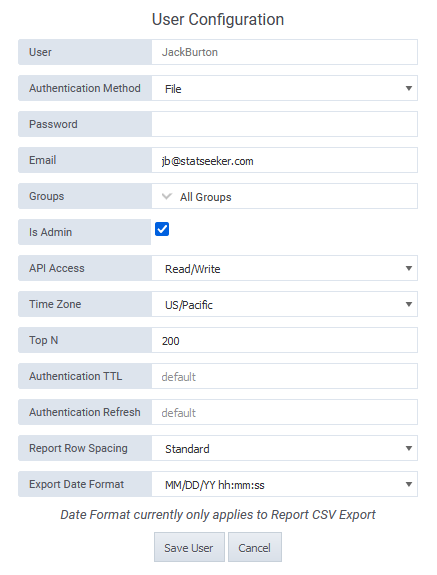
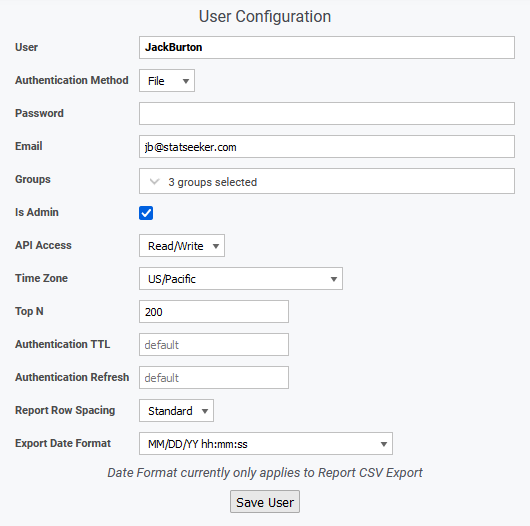
| Field | Description |
| User | The Statseeker username (case sensitive, spaces will be trimmed). When using SAML authentication, this value must be found in the response from the identity provider. |
| Authentication Method |
- This field is only visible when the server has been set to utilize LDAP, Radius or SAML authentication -
Note: for details on configuring the various user authentication methods, see User Authentication.
|
| Password |
- This field is only visible when the user account has been set to utilize FILE authentication - The password required for the user account to access the web interface. This password can be updated by the user after their initial login. |
| Email address used when Statseeker agents email reports\alerts to the Statseeker user | |
| Groups | The groups associated with the user determine what data is visible to the user in reports/dashboards, see Users and Grouping for details |
| Is Admin | Set the flag to provide the account the same rights and access as the default admin account
Note: the Is Admin role is not sufficient to update the server root user account password from within the Admin Tool, this can only be done by the admin user.
|
| API Access | Level of API access to be granted to the user account
Note:
It is advised that all non-admin user accounts only be assigned Read permission to the API. |
| Timezone | The default timezone used by reports when viewed by the user |
| Top N | The default number of rows returned by reports for that user (overridden by settings in Custom Reports) |
| Authentication TTL | Override the default duration (seconds) of the authentication token 'time-to-live' period, see Authentication Token Settings for details |
| Authentication Refresh | Override the default duration (seconds) of the authentication token refresh period, see Authentication Token Settings for details |
| Report Row Spacing | Specify the amount of vertical whitespace used when presenting tabular reports
|
| Export Date Format | Date format to be used when exporting report data as *.csv |
Editing Users and Updating Preferences
A user with the Admin Role can edit any user account from the Administration Tool, and all users can edit their own account from the main navigator.
Update\Edit Current User
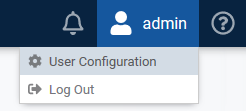
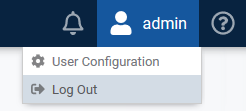
- Select User Configuration from the main navigator
- Update settings as required and click Save User
Update\Edit Any User
- Select Administration Tool > User Profile/Grouping > Add / Edit Users
- Select the user from the list and click Edit
- Make the required changes and click Save User
Log Out or Switch the Current User
To log out or switch the current user:
- Select Log Out from the main navigator
Deleting A User
To delete an existing user account:
- Select Administration Tool > User Profile/Grouping > Add / Edit Users
- Select the user from the list and click Delete
- You will be prompted to confirm this action, click OK to delete the user account
Managing User Access & Permissions with Grouping
By default, a new Statseeker user account has no visibility of your network via Statseeker. To allow the user to use Statseeker, and view data collected from your network, you need to associate the user account with one or more groups. Typically, a group is a subset of the monitored devices and interfaces on your network, but a group can contain any Statseeker entities:
- Devices
- Monitored entities on a device such as interfaces, CPUs, file systems, etc.
- Statseeker reports, SLAs and other configuration objects
- Statseeker users
Statseeker has a super-group called 'All Groups' which contains all Statseeker entities. The default admin user account has permission to access this 'All Groups' group, granting the account access to all Statseeker data. Another advantage of All Groups is that this never needs to be updated. As new groups are created/edited/deleted, the All Groups permission simply gives the user access to all reports, and the entire monitored network regardless of how that network evolves over time.
To create other network-wide, Admin-level accounts:
- Assign the account the Is Admin role
- Assign permission to access 'All Groups'
If the user account is going to be configured to restrict access to a subset of your monitored network:
- Assign groups as needed to the user account during, or after, user account creation. This can be done in the user account configuration screen or from Add/Edit Groups in the Admin Tool.
- At least one of the assigned groups will need to contain reports. Without the All Groups permission, the user will have no access to any Statseeker reports so a group containing the reports the user will have access to needs to be assigned to the user.
Example:
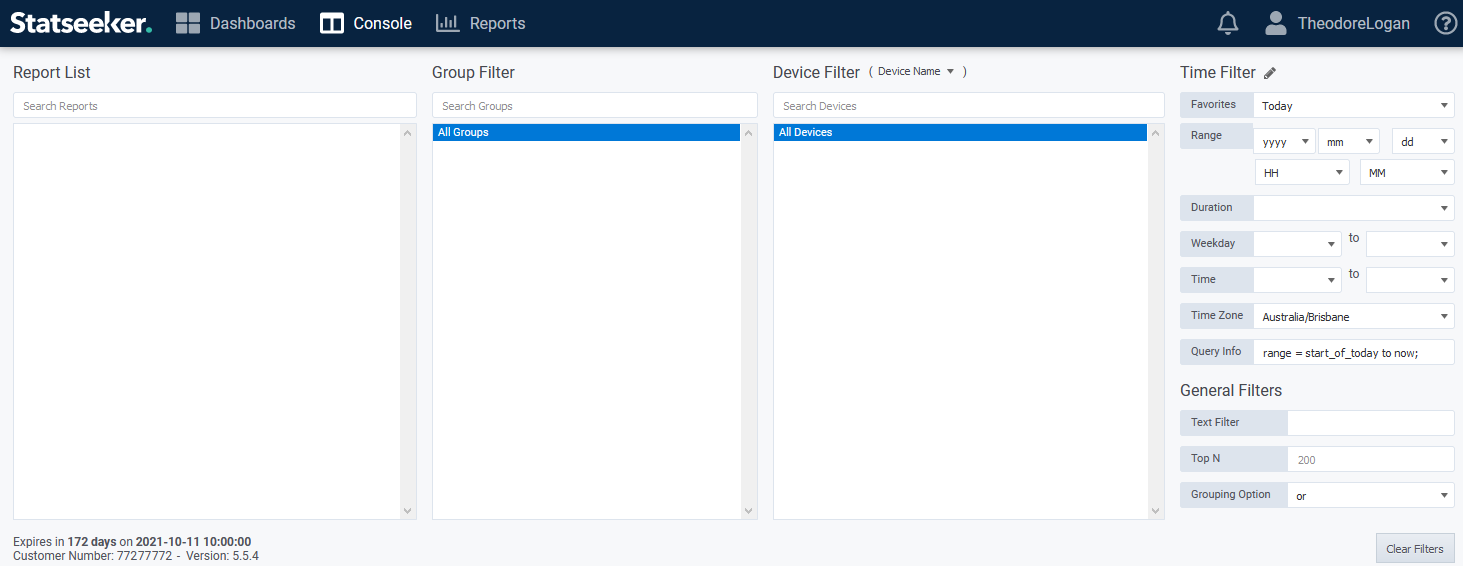
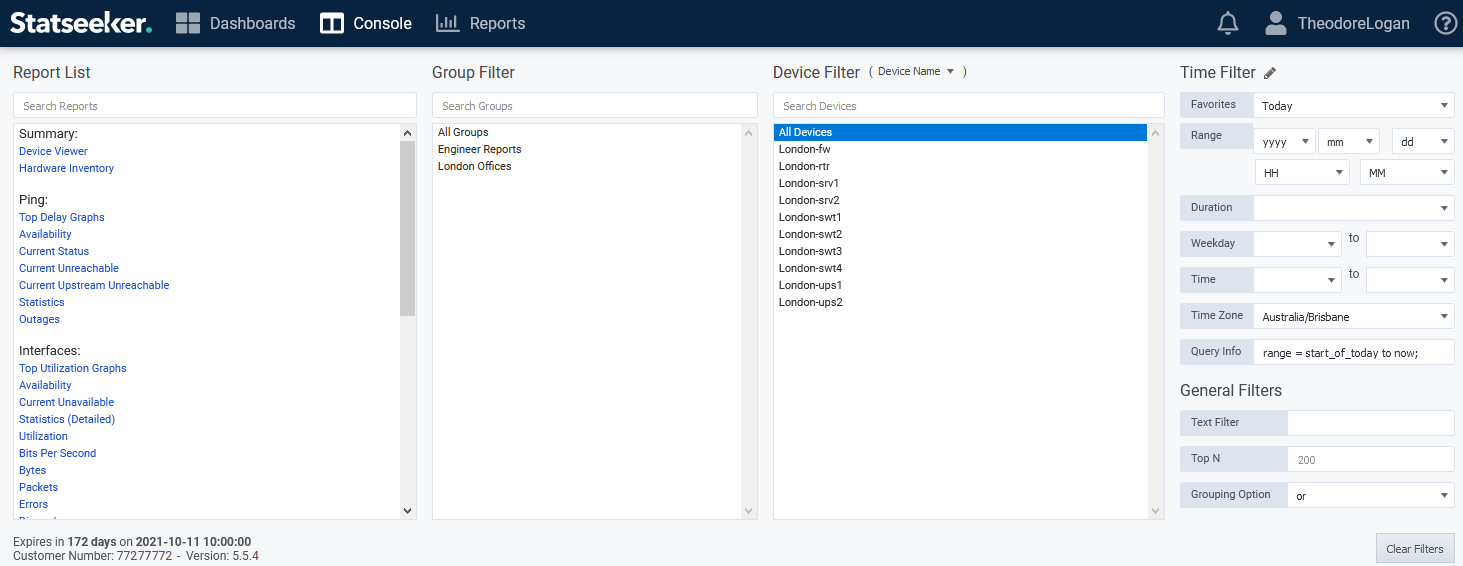
Our new user, Theodore, logs into the Statseeker server but has no visibility of any device or associated report.
Theodore's user account needs to be associated with both devices and reports. We already have a group, London Offices, which contains the devices in the location that Theodore will be administering, but we need to also give Theodore access to reports. We could simply add reports to the London Offices group and give Theodore access to that group, but instead we are going to create a new group specifically for reports and all new network engineer accounts can be assigned that group when they join the organization.
We:
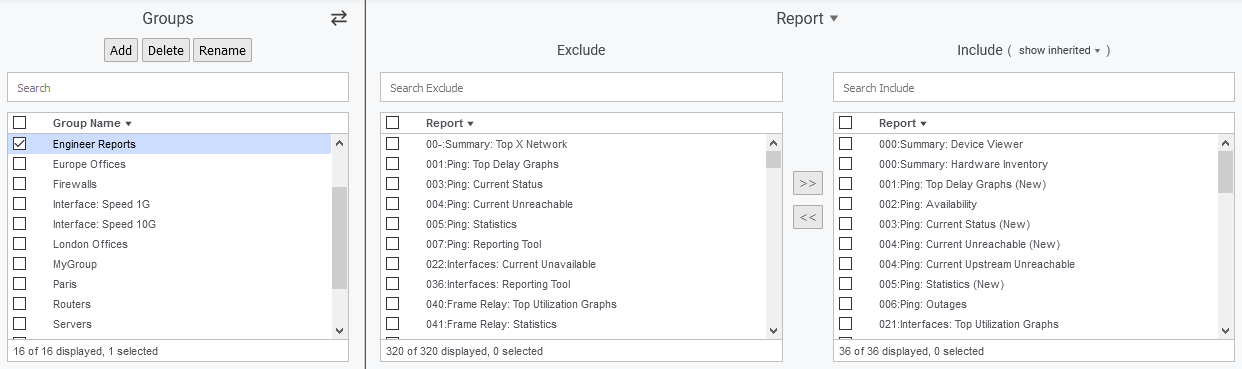
- Select Administration Tool > User Profile/Grouping > Add / Edit Groups
- Click Add and enter the group name Engineer Reports in the text field and click Ok

The group will be created and automatically selected, ready for population.
- Set the entity type to Report
- Assign a selection of reports to the group
- Click the Entity\Group toggle (
 )
) - Set entity type to Users
- Select Theodore from the list of users
- Select both the London Offices and Engineer Reports groups from the list and click
 to add the groups to the Include column
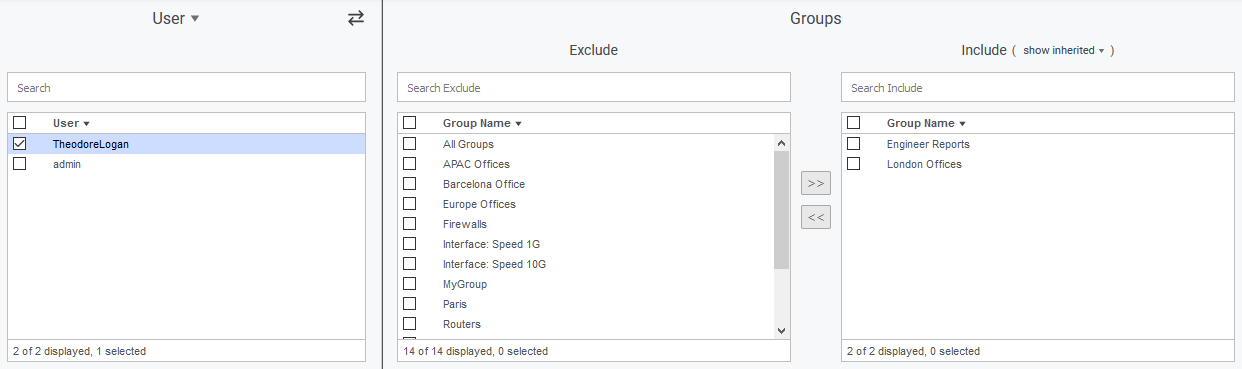
Theodore refreshes his browser and can now see the devices and reports contained within the two groups that his user account has been associated with.
While group population can only be done from the Add/Edit Groups page in the Admin Tool, assigning groups to a user can be achieved from either:
- Admin Tool > Add/Edit Groups
- Admin Tool > Add/Edit Users
- Main navigator, User Configuration
Reports can be configured to be targeted to a specific device/entity, or group of devices/entities, or they can be configured to be network-wide. If a Statseeker user only has visibility to a subset of your network, viewing a network-wide report will instead show the report as if it was configured to target just those elements of your network to which they have visibility.