Index
Download Location and File
New & Existing customers: please contact your Regional Sales Manager prior to attempting any new installations.
Important Notes
- As of version 5.3, Statseeker requires CPUs which support the SSE4.2 instruction set, see System Requirements for details
- Statseeker's minimum requirements do change over time, ensure that you can support these requirements prior to attempting installation
Unsupported Configurations
Statseeker does NOT support the following configurations for physical (non-VM) installations:
- Raid 5
- Raid 6
- SAN Drives
Virtualized Installations
Statseeker supports virtualized installations, recommending VMware ESXi version 5 and above.
Whether installing on a VM or migrating to a VM, the VM specifications should be equivalent to those specified for a physical installation, see Version 5.x System Requirements for details.
In addition:
- The Operating System (OS) being installed will be FreeBSD, 64bit, specify this OS if prompted (if this option is not available then select Other, 64bit)
- The RAM and CPU must be dedicated, not shared resources
- The installation drive should be thick-provisioned that is, pre-allocate the required disk-space. The dynamic allocation provided via thin-provisioning could potentially produce performance issues with most Statseeker installations and if disk space over-subscription occurs, this will impact the Statseeker server directly.
Installation Drive
- All data on the drive will be deleted during a new install
- See Version 5.x System Requirements for more information on installation drive requirements
- If installing on a server with multiple drives, ensure that there is no other instance of Statseeker installed on the server
User Accounts
The installation process will create the following administrative system accounts:
- admin – the web user administrator account
- statseeker – the system user account used by the Statseeker application
- root – the superuser account in the backend operating system
You will be prompted to provide the root user password during the installation process. This password will become the default password for both the admin and statseeker accounts. This password can be changed after the installation process via:
- The command line ssadmin tool
- The web interface in the Administration Tool, see Admin Tool > Statseeker Administration > OS Configuration
Prerequisites
A Valid Server ID Number
The Server ID is used during the installation process to produce your License Key. To obtain a Server ID, either:
- Email: keys@statseeker.com
- Contact Customer Support
OR
Installation Media
Contact your Regional Sales Manager for access to the Statseeker installation media (ISO/IMG) image file appropriate for your license. Once this file has been downloaded:
- CD/DVD: use 3rd party software to burn the ISO/IMG image file to disc
- USB: use 3rd party software to convert the USB and ISO/IMG to bootable drive
- VM: request the *.iso file from Statseeker support to ensure compatibility with your destination platform
Configuration Information
You will also need to provide, or define, the following information during the install process:
- The root user password for the server
- A host name for the server
- A domain name suffix for the server
- Static IP, Netmask and Default Gateway addresses for the server
- The IP address of your Domain Name Server
- The SNMP read access community string to your devices (routers, switches, servers, etc.)
Install Process
CD/DVD/USB Installation
- Configure the BIOS time and time zone as desired
- Set the boot sequence:
- Installation media as first boot preference
- Installation destination drive as secondary boot preference
- Connect the server to your LAN as needed
- Insert installation media
- Boot the server
VM Installation
- Configure the VM
- Mount the ISO
- Launch the VM
The FreeBSD welcome screen will be displayed.
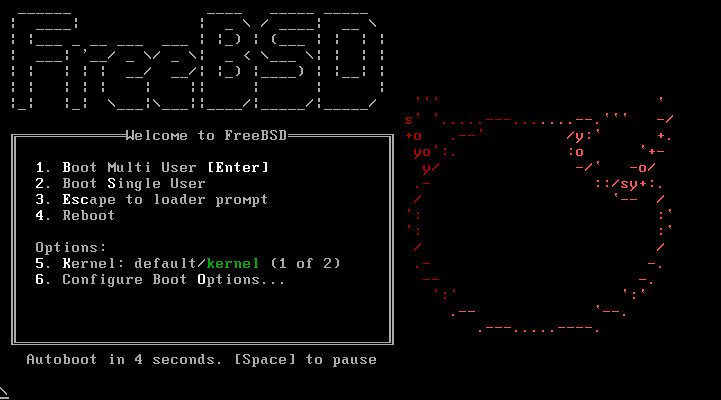
- Press Enter to continue with the installation
Some basic hardware/system compatibility checks are run, and if any aspect of your system does not meet minimum requirements:
- An error message detailing the failed check will be displayed
- Installation will not proceed
If all system checks pass, the Statseeker Welcome screen is displayed.
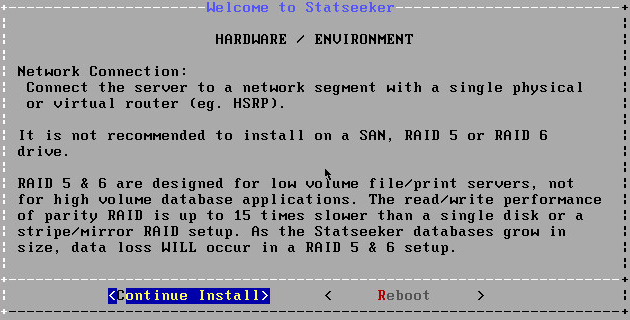
- Press Enter to continue with the installation
If you have multiple hard disks, the Installation Disk Selection screen is displayed.
- Select the disk you want to use, select OK and press Enter
The data wipe alert is displayed; continuing with the installation will delete all data on the hard disk.

- Press Enter to continue with the installation
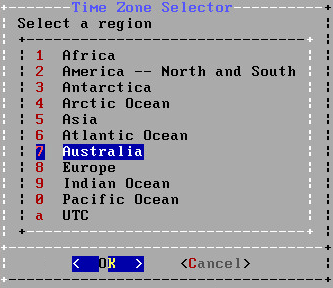
The server timezone prompt is displayed.

- If you are certain that the CMOS clock is set to UTC, then select Yes, otherwise select No
- Select the time zone region
- Select the time zone
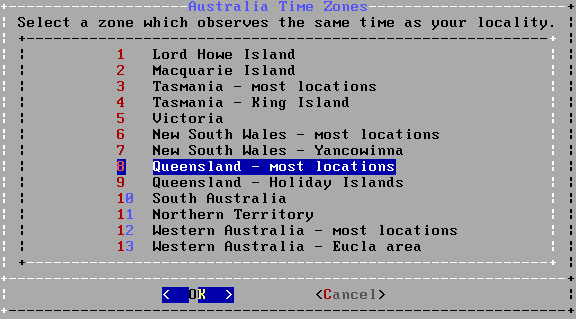
- Select Yes to confirm the time zone configuration

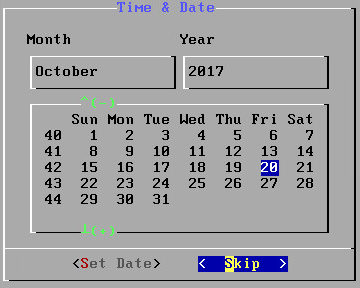
From Statseeker v5.3, the underlying operating system moved from FreeBSD 10.3 to FreeBSD v11. This upgrade adds a couple of optional configuration screens used to set the date and time for the server. These settings can be skipped and configured at a later time, or set now.
The Date configuration screen is presented, either Skip, or:
- Configure the month, year, and day-of-month and select Set Date
The Time configuration screen is presented, either Skip, or:
- Configure the time and select Set Time

A prompt will be displayed asking you to set the password for the server root account.

- Enter the password and press Enter
- Repeat this to confirm the password
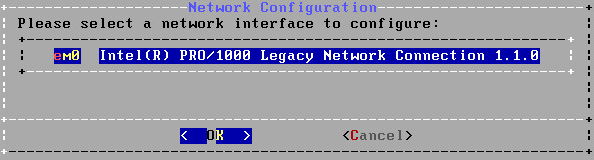
The installation process will proceed to Network Configuration.
- Select the network interface to be used to connect the Statseeker server to the LAN, select OK and press Enter
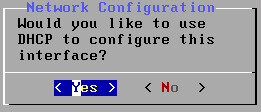
Statseeker Version 5.3.3+ Only
In v5.3.3, Statseeker introduced the option to use DHCP to configure your primary Statseeker server network interface.
For DHCP:
- Select Yes and press Enter
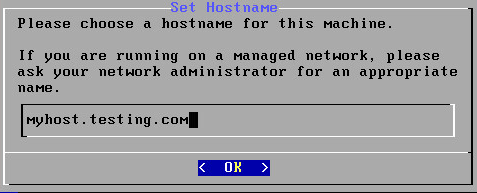
- Set the Hostname of the server, including the domain suffix (requires a fully-qualified domain name) and press Enter
For manual interface configuration:
- Select No and press Enter
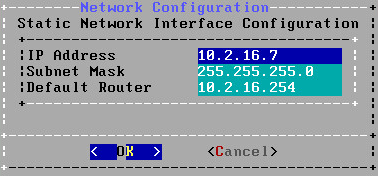
Manual Interface Configuration
- Use the arrow keys to navigate through the dialog and set the IP Address, Subnet Mask and Default Router
- Use the Tab key to select OK and press Enter
- Set the Hostname of the server, including the domain suffix (requires a fully-qualified domain name) and press Enter
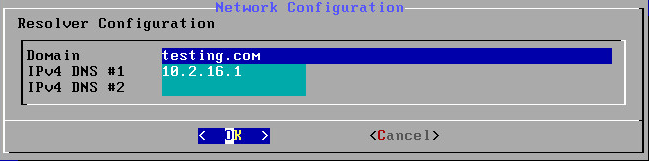
- Use the arrow keys to navigate through the dialog and set the Domain and DNS configuration
- Use the Tab key to select OK and press Enter
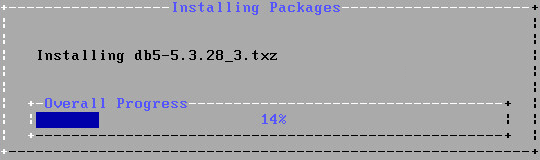
Statseeker will now install all required packages and reboot.
Once the server has started to reboot you may remove the CD/DVD disc from the server drive.
A login prompt will be displayed, indicating a successful install.
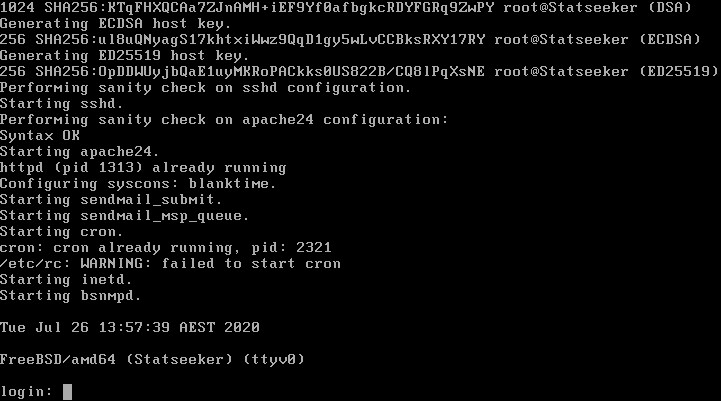
- Do not log in, rather move on to the Web Installation Wizard
Web Installation Wizard
Once Statseeker is installed you can access the web interface, to do this:
- Enter the server IP address, which you configured for the server, in your browser URL
Statseeker Version 5.4.2+ Only
From version 5.4.2 onwards, the Statseeker web server will use HTTPS in conjunction with a self-signed certificate. Modern browsers will view self-signed certificates as potentially suspect and post an alert prior to loading the Statseeker interface for the first time. To suppress any future alerts for that specific certificate:browser combination:
- Follow the browser prompts to acknowledge the risk and add an exception for the certificate
For details on how to upload and use alternative SSL certificates, or configure the server to use HTTP instead, see Web Server Configuration.
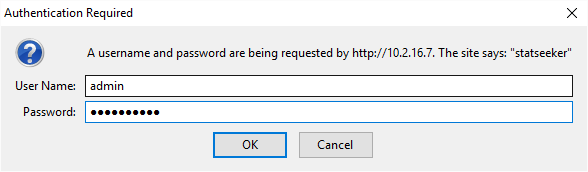
You will then be prompted with a login screen.
- User Name = admin
- Password = the root user account password as specified during installation
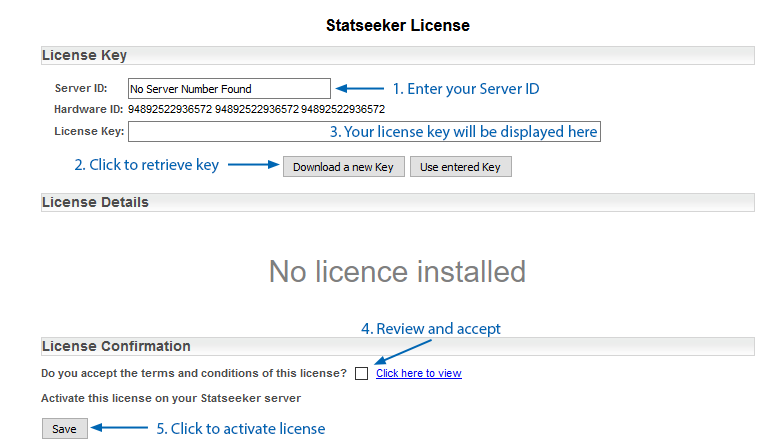
Once logged in to the web interface, you will be prompted with the Statseeker License configuration screen.
- Enter your Server ID and select Download a new Key
It may take a minute or two to obtain your license key.
- Select the checkbox to accept the Statseeker license
- Select Save to activate the license key
The screen will update to display the license details.
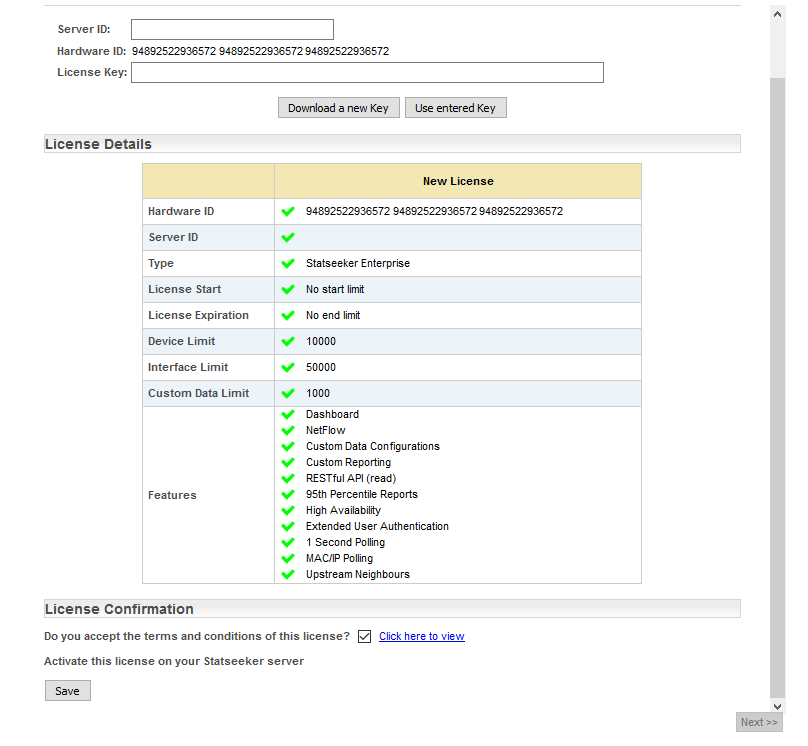
- Click Next
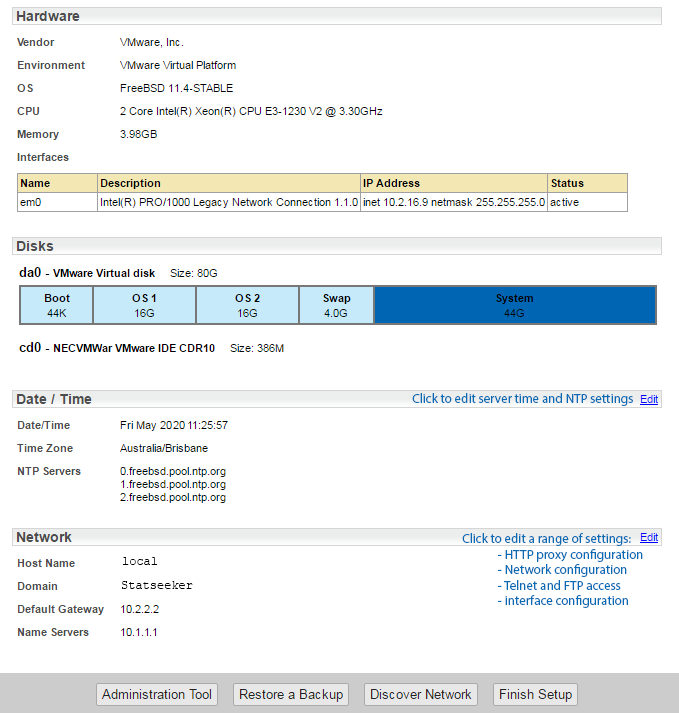
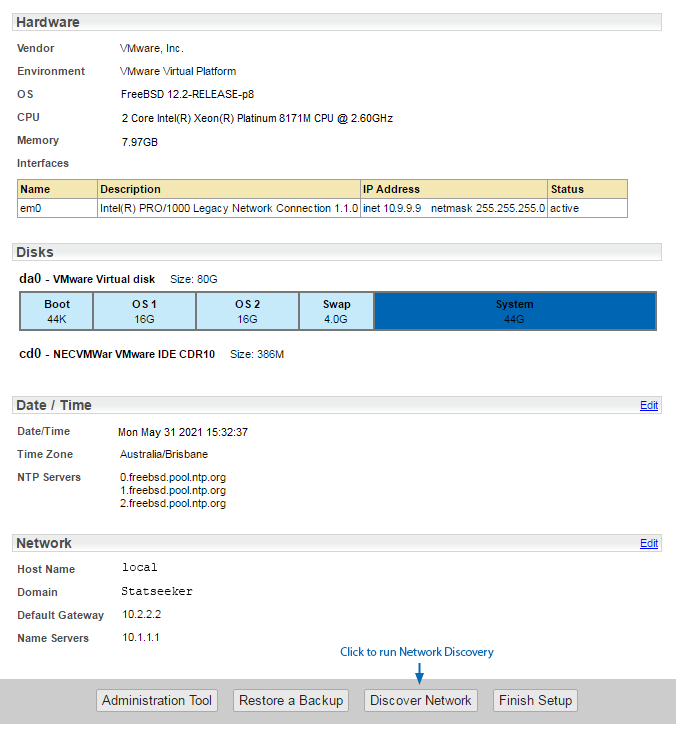
You will now be presented with the Server Summary screen, containing a range of details pertinent to your Statseeker installation.
Edit Server Date/Time
To edit the server date/time settings:
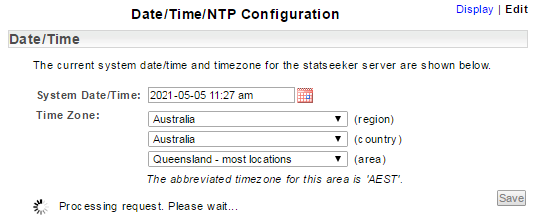
- Click the associated Edit link on the Server Summary page
- Use the calendar control to edit the date and/or time
- Use the drop-downs to modify the timezone for the server
- Click Save when done

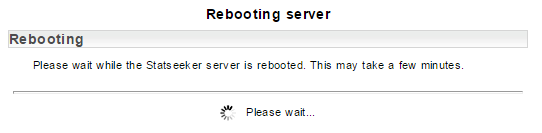
The configuration changes will be saved and the server will be restarted to apply those changes.
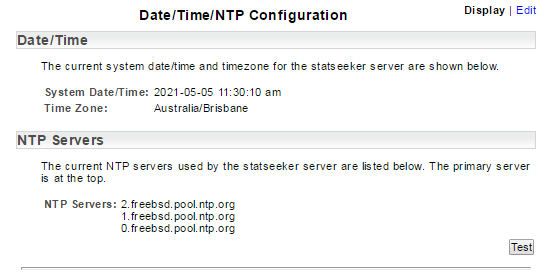
Once the changes have been applied you will be returned to the Date/Time/NTP Configuration screen (in Display mode) to confirm that the changes have been applied correctly.
Edit NTP Configuration
To edit the NTP server settings:
- Click the associated Edit link on the Server Summary page
- Enter the address of the NTP server to use
- Click the associated Delete button to remove unwanted NTP server entries
- Click Save when done
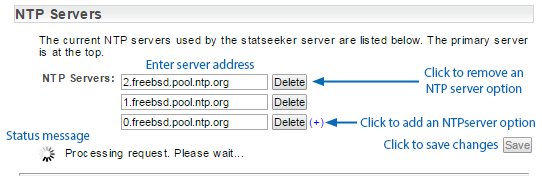
When you click Save Statseeker will attempt to contact the specified NTP servers and:
- Inform you if it is unable to receive a response from the NTP server, no changes have been applied at this point
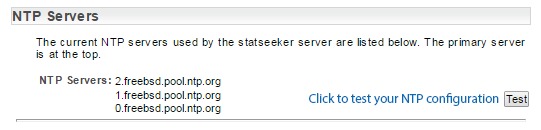
- If it receives a valid response from the NTP server, apply the changes and return the Date/Time/NTP Configuration screen (in Display mode) and enable a Test button that can be used to confirm the validity of the current configuration.
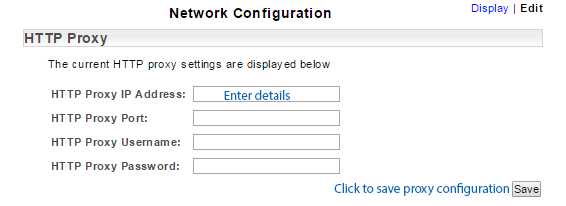
Configure an HTTP Proxy Connection
To add or edit the HTTP proxy configuration:
- Click the Network > Edit link on the Server Summary page
- Enter the required proxy server details
- Click Save to apply the configuration
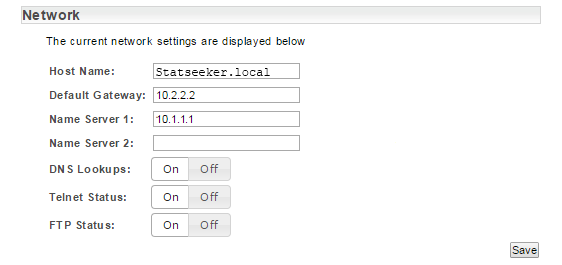
Edit the Network Configuration
To edit the existing network configuration:
- Click the Network > Edit link on the Server Summary page
- Enter the required details
- Click Save to apply the configuration
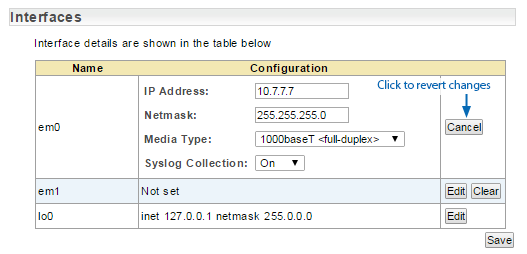
Edit Interface Configuration
To edit the existing network configuration:
- Click the associated Edit link on the Server Summary page
- Click Edit to reconfigure the interface, optionally click Clear to remove the current configuration before editing
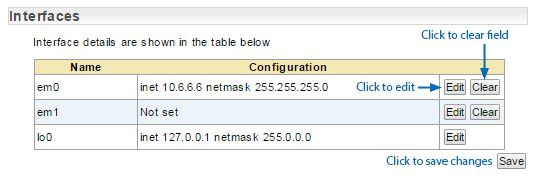
- Enter the required details
- Click Save to apply the configuration
- Click Close to return to the Server Summary
Run Network Discovery
Statseeker's automated network discovery process will use the supplied configuration to contact all IP addresses in the defined ranges and retrieve configuration data on the associated devices at those addresses.
- Click Network Discovery
- Click Start Discovery

- Enter the SNMP Community Strings for the devices that you want Statseeker to discover. Multiple community strings may be specified, one per line.
- Define the Network Discovery Ranges that you wish Statseeker to query

Once the discovery process is active and running, you will be presented with an in-product video highlighting the discovery process. There is a progress wheel in the bottom left-hand corner of the screen that will indicate when the discovery process is complete.
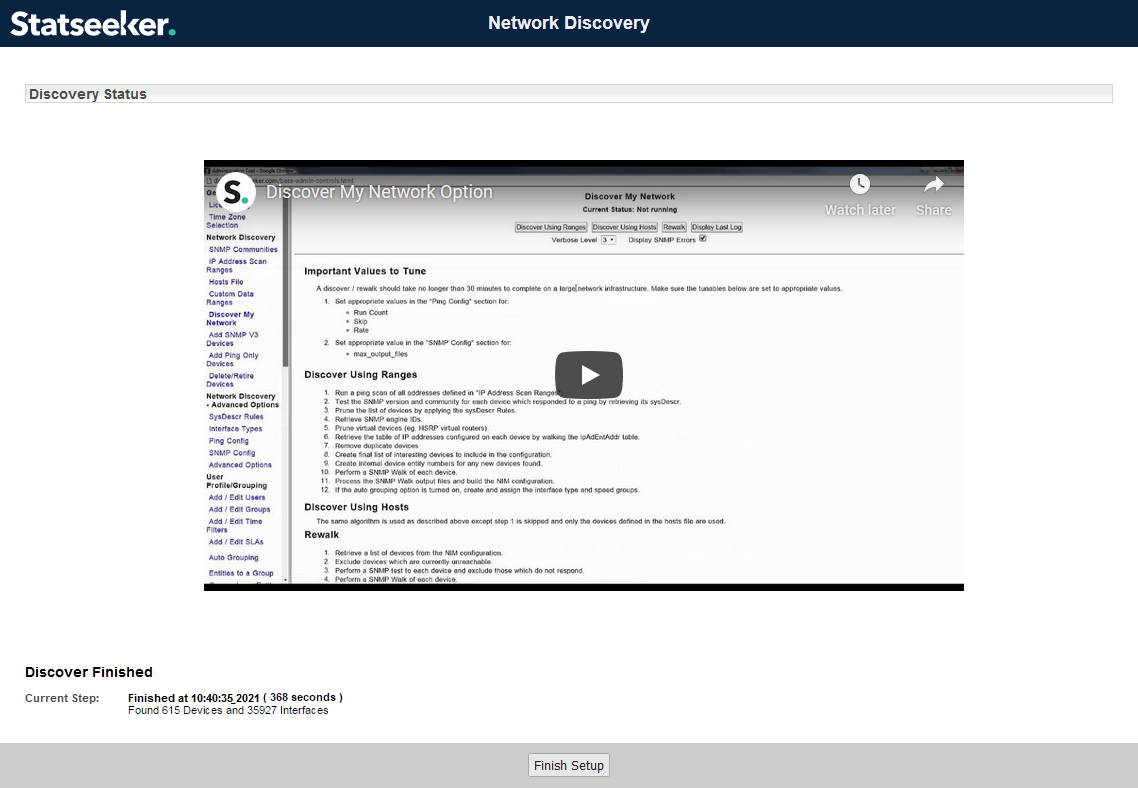
- Once the discovery process has completed, click Finish Setup
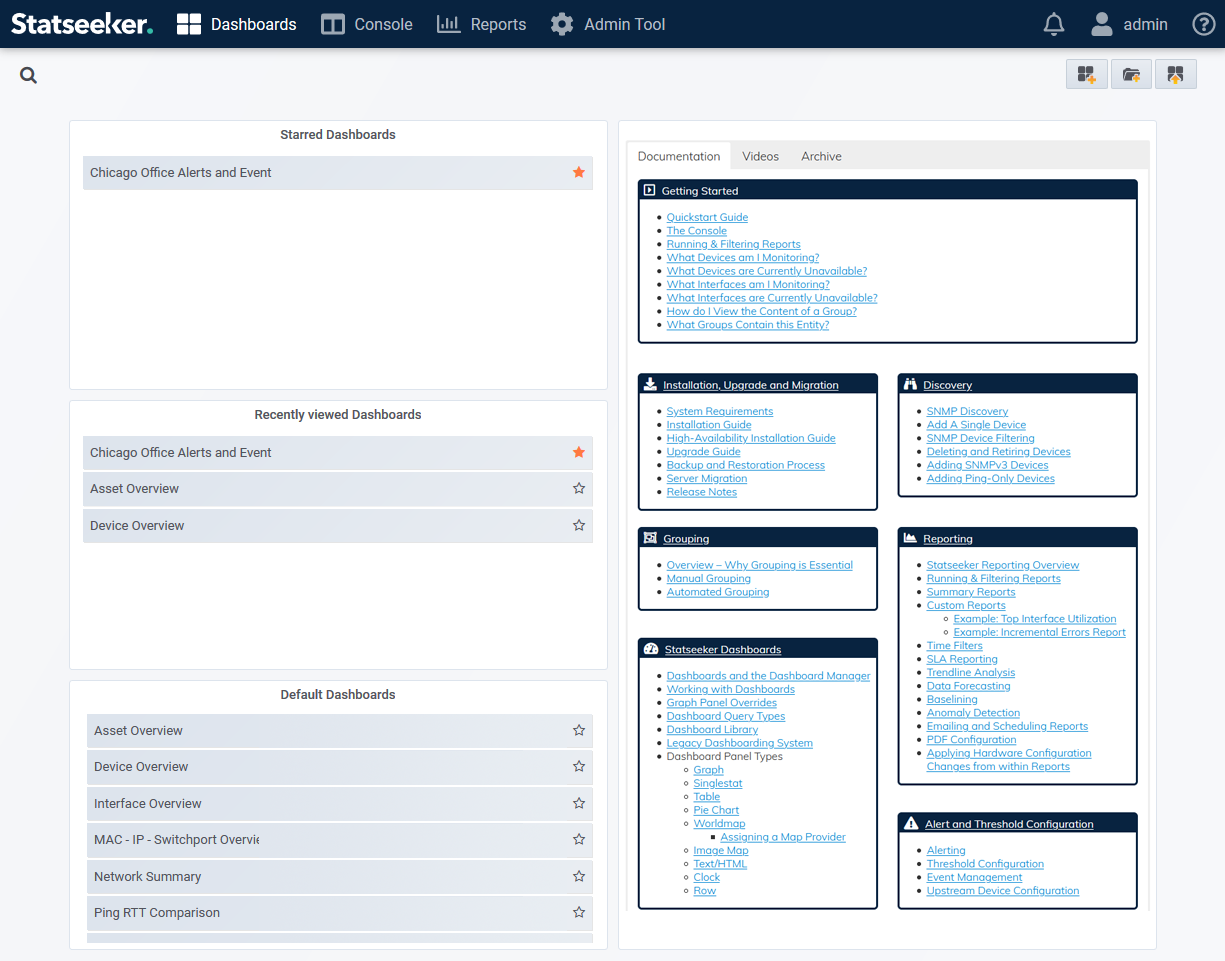
The Statseeker Dashboard Homepage will be displayed providing access to the default dashboards as well as a news panel detailing recent updates with links to associated documentation and videos. The main Statseeker Console and reporting panels are available from the main navigator.