Index
Overview
Weathermap is a well-known open-source product which can be used to display a graphical representation of link utilization within a network. This high-level overview of primary link load provides an ‘at-a-glance’ current state overview, perfect for a Network Operations Centre (NOC) display. Statseeker has written a plugin that can be used to add your Statseeker server as an available datasource and through the Statseeker API, the plugin can retrieve your network data from Statseeker and convert it to a format to be consumed by Network Weathermap. The plugin is open source, and free to use or edit. Our intention is to provide the Statseeker community with free tools, offering the flexibility to make use of your Statseeker data in any way you see fit.
This document will cover the process required to build a basic weathermap, featuring your Statseeker data, via the Network Weathermap editor.
Prerequisites
The processes present in this document require that you have:
- A Statseeker v5.2 (or higher) server
- A Network Weathermap server
- Statseeker configured as a datasource on your weathermap server using the Statseeker - Network Weathermap Integration
- Basic familiarity with Statseeker grouping and reporting, see the Statseeker Documentation Library for details on any of these items
When configuring the Statseeker- Network Weathermap plugin you were required to specify the name of a group
Adding Nodes
Once Statseeker has been configured as a datasource, you can begin to construct your weathermap by adding nodes representing the network infrastructure that you want to monitor. Nodes can be added via the Network Weathermap graphical editor (recommended), or by directly editing statseeker.conf on your weathermap server.
To add a node using the weathermap editor:
- Open the editor by viewing https://yourWeathermapServer/editor.php in a browser
- Name the map according to the value specified in ss-wm.cfg when configuring the plugin
- Click Create
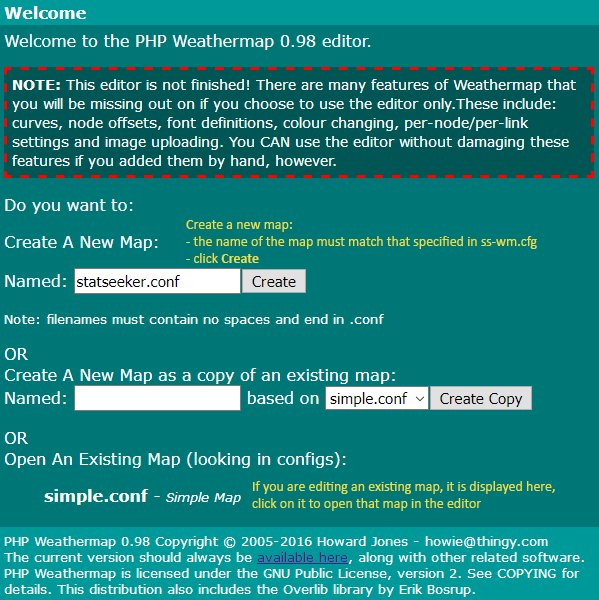
The editor will open to a new map.
- Click Add Node
The mouse pointer will change to cross-hairs to indicate that you are placing a node.
- Position the cross-hairs and click to place the node

Once a node has been placed on the map:
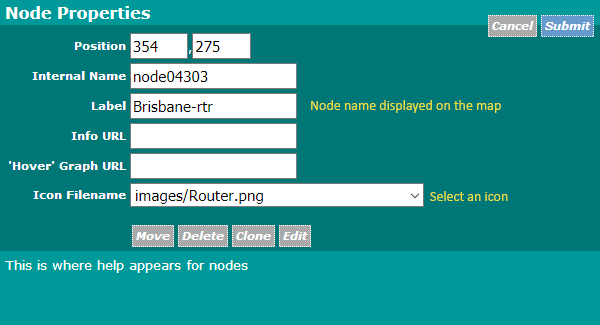
- Click the node to open the node configuration screen
- Name the node, select an Icon and click Submit
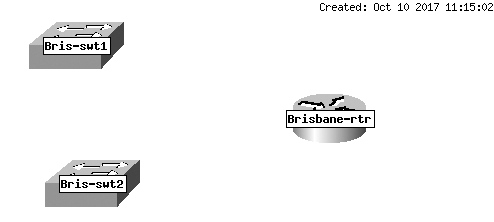
- Add additional nodes as required
Linking Nodes
Once nodes have been created you are able to create links between these nodes. These links will be representing the interface utilization with regard to communications between the two nodes. To create a link between nodes:
- Click Add Link
- Click one of the nodes
The node label will be outlined in red to indicate that the node has been selected.

- Click another node and the link between the two will be created
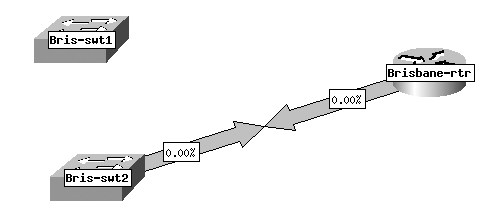
- Click the link to open the link configure window
- Specify the Data Source
- Click Submit
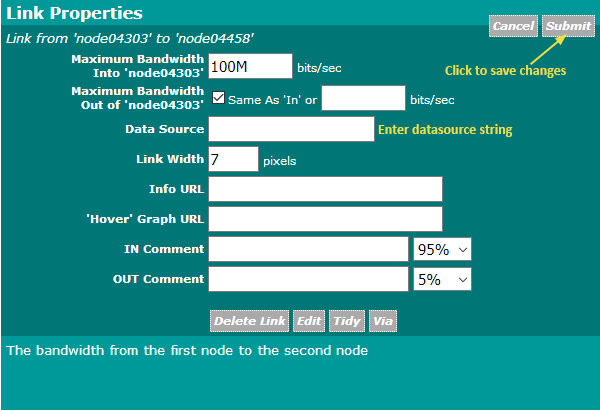
A syntax must be used when specifying the links between nodes:
DataSource:Device:ifName:DataType
| Parameter | Description |
| DataSource | Name of the Data Source, must be set to statseeker |
| Device | The device name as it appears in Statseeker |
| ifName | Interface name of the port. Visible in Statseeker via the Interface -> Details report, Interface Name column |
| DataType | Must be set to Bps (bits per second) |
E.g. statseeker:Brisbane-rtr:Gi0/3:Bps
Once the link between two nodes has been configured you can view the weathermap in a browser (once the ss-wm.sh has been run according to the your configured cron schedule):
- View the weathermap by accessing https://yourWeathermapServer/index.html in a browser
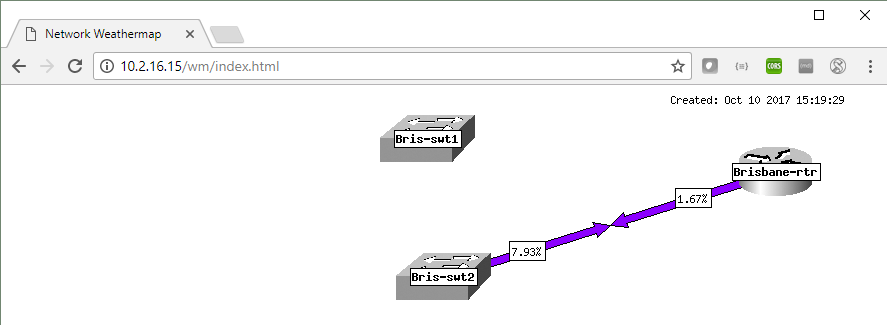
- Repeat this process to configure the remaining links on your map
Adding On-Hover Graphs
Network Weathermap allows you to add on-hover links to display an interface utilization graph when the mouse cursor hovers over one of the displayed links. To configure an on-hover link:
- Open the map in the editor
- Click a link open the link configuration screen
- Add the reference to the on-hover graph to the Hover Graph URL field, see below for constructing this reference
https://weathermap.server.url/GRAPH_DIR/DEVICE.PORT.png
| Parameter | Description |
| https://weathermap.server.url | IP or Hostname of the Weathermap server |
| GRAPH_DIR | GRAPH_DIR from ss-wm.cfg |
| DEVICE | Statseeker device name |
| PORT | Statseeker ifName of the port. Forward-slash characters (/) must be replaced with dash characters (-), e.g. Gi1/10 becomes Gi1-10 |
E.g. https://10.2.16.15/wm/graph/Brisbane-rtr.Gi0-3.png
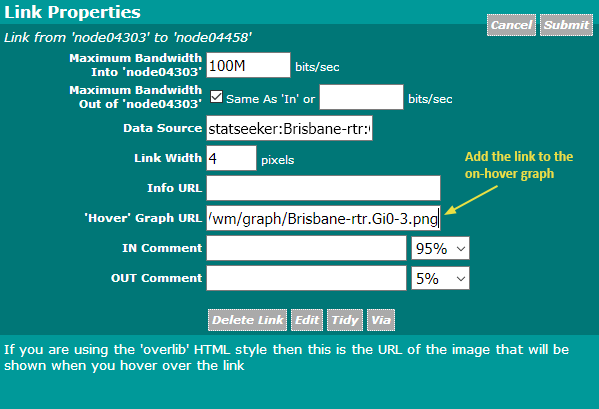
- Click Submit to save the changes
- Click Map Style
- Set HTML Style to Overlib, and click Submit
Once the on-hover link has been configured you can view the weathermap in a browser (once the ss-wm.sh has been run according to the your configured cron schedule):
- View the weathermap by accessing https://yourWeathermapServer/index.html in a browser
- Repeat this process to configure the remaining on-hover links on your map
