
Index
- Overview
- Prerequisites
- Backup Current Installation
- Install Statseeker on the new server
- Restore Your Data
- Perform a Rewalk
Overview
The migration process is broken down into 3 steps:
- A backup of your current installation
- A fresh install on the new hardware/VM
- Restore from the backup to migrate your data to the new server
Prerequisites
- A current Statseeker version 5 installation
- Ensure that the new hardware/VM meets the hardware requirements, see Version 5.x Hardware Requirements for details
- A new Server ID, email: keys@statseeker.com
Backup Current Installation
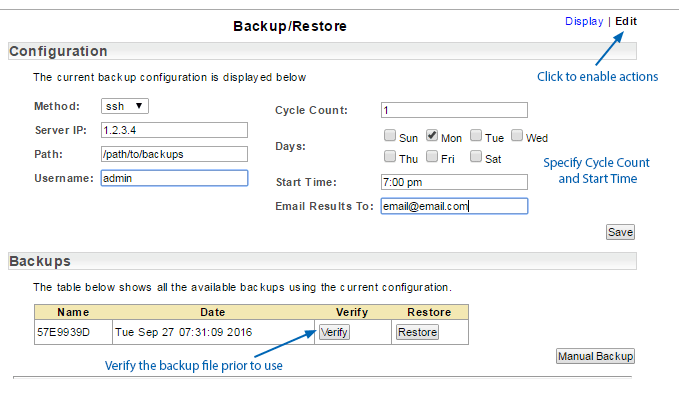
For assistance with backing up your current Statseeker installation, please refer to Backup and Restore
Once the backup process is complete:
- Verify the backup
- Ensure that the verified backup is not being stored on the prospective Statseeker version 5 server as all data on that server will be erased during the installation process
Install Statseeker on the new server
Follow the instructions in the Version 5.x New Installation Guide until you have activated your new Statseeker version 5 License. Once you have activated your license you will be presented with the following Statseeker Configuration screen.
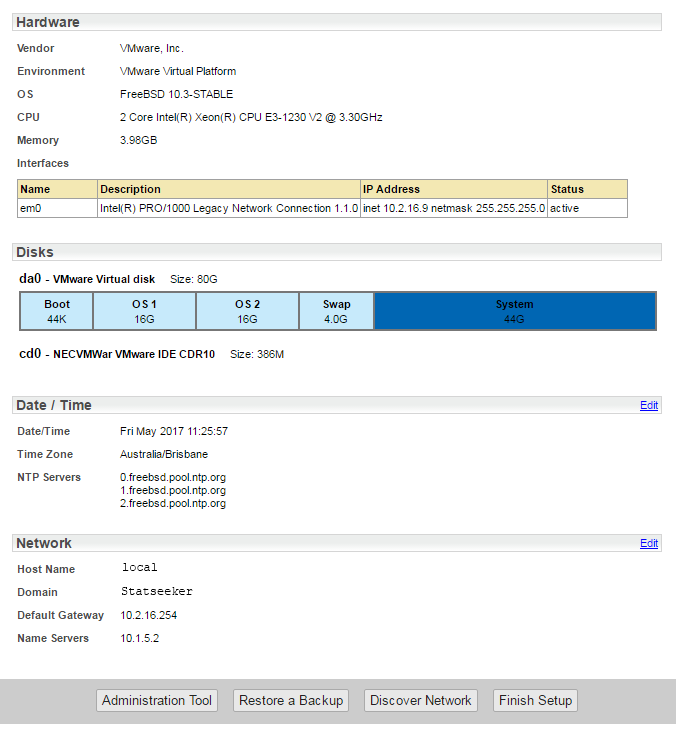
When you are presented with this screen, return to this document.
Restore Your Data
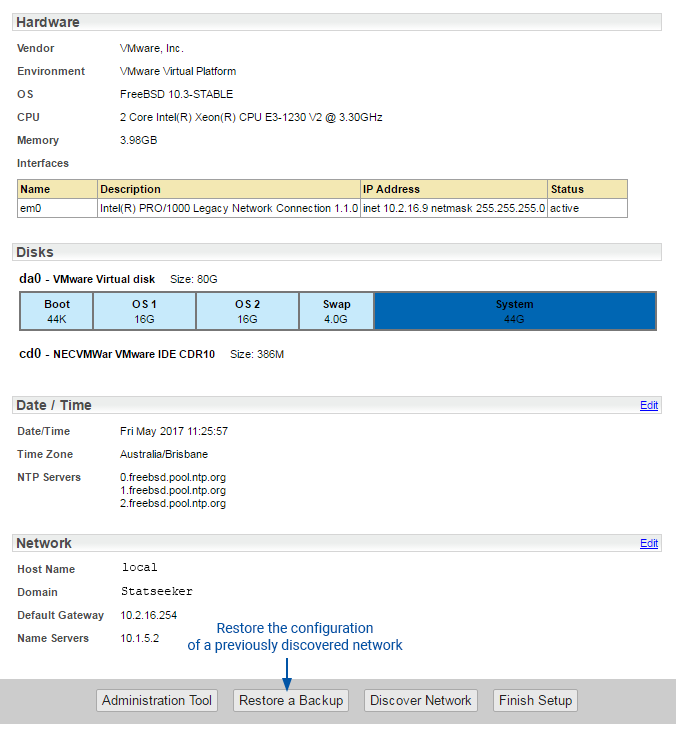
From the Statseeker Configuration screen:
- Select Restore a Backup
You will now be prompted to select your Method of retrieving the backup file.
- Select the Method
- local – the backup needs to be located on the specified directory on the local machine
- ftp – Statseeker will open an ftp connection to the specified backup repository
- ssh – Statseeker will open an ssh connection to the specified backup repository
- Specify the backup location and any credentials required to access that path as required by the selected Method
- Click Save
- Choose to restore the web server configuration and SSL certificates from the backup, or start fresh with a default configuration and self-signed certificate (you can upload alternate SSL certificates at a later time)
- Select one of the stored backups and click Verify
- Once the backup data has been verified click Restore
- Click OK to begin the restore process
- Click OK to close the dialog
The page will update displaying a list of backup files found at the specified location.
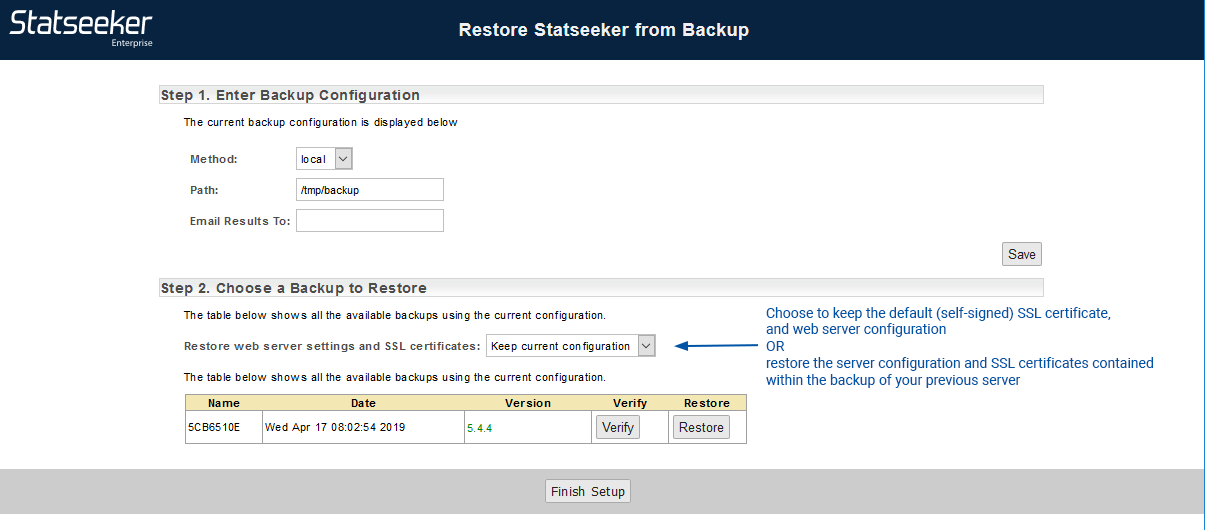
This will allow you to confirm that the backup data is valid prior to attempting to restore from the data.
A confirmation dialog will be displayed detailing the backup data selected for the restore process.
A dialog will be displayed when the restoration process has completed.
Perform a Rewalk
Once you have been notified that the restore has completed, a rewalk should be initiated to update the configuration of services that may be affected by the move to the new server. To initiate a rewalk:
- Select Administration Tool > Network Discovery > Discover My Network
- Click Rewalk